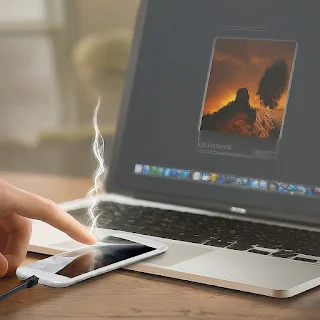
Hey there! So, we all know that our iPhones are basically like our little photo albums these days, right? We snap pics of everything from fun times with the squad to that adorable squirrel we saw in the park. But what happens when your phone's getting full and you're running out of space for more memories? That's when you gotta move those photos to your computer. It's like giving them a cozy new home where they can chill and not take up space on your phone. And it's totally not rocket science, I promise!
Here's why you might wanna do that:
- Backup buddies: So, you don't wanna lose those precious moments if your phone decides to take a swim or gets a little too cozy with the pavement. Keeping them on your computer is like having a photo insurance policy.
- Space saver: Free up some space on your iPhone for more apps, tunes, and yes, more photos!
- Bigger is better: Sometimes you just gotta see those pics on a bigger screen, ya know? It's like watching your fave show on a TV instead of your phone.
Okay, let's get down to business with some methods to get those photos off your iPhone and onto your computer:
Method 1: iCloud Magic (For PC and Mac)
Step 1: Get iCloudy on Your iPhone
- Just head to your iPhone's settings, tap on your name, then go to "iCloud" and hit "Photos".
- Make sure "iCloud Photos" is turned on. That's your golden ticket to sync town!
Step 2: Unleash the iCloud on Your Computer
- If you're a PC user, hit up the Microsoft Store and grab iCloud for Windows.
- Install it, sign in with your Apple ID, and tick the box that says "Photos".
- Choose where you want those pics to land on your computer and let 'er rip!
- For Mac peeps, just open the Photos app and go to "Preferences" > "iCloud". Check the "iCloud Photos" box and boom, they sync up automatically.
Method 2: The iTunes Shuffle (For Both PC and Mac)
Step 1: Connect Your iPhone Like a Pro
- Grab that trusty USB cable and plug your iPhone into your computer.
- If iTunes doesn't start playing its opening theme song, just launch it.
Step 2: Make iTunes Your Photo Mule
- Click the little device icon in iTunes.
- Choose "Photos" from the side menu.
- Decide if you wanna move all your albums or just a few select ones.
- Click "Apply" and let the photo transfer fiesta begin!


